
Understanding Vapor Barrier Installation
What is a Vapor Barrier?
A vapor barrier is a crucial component in moisture control for homes, particularly in areas like crawl spaces and basements. Essentially, it is a material—typically a thick sheet of polyethylene or reinforced foil—that prevents moisture from permeating through walls or floors. By blocking moisture migration, vapor barriers help protect your home from mold growth, structural damage, and indoor air quality issues. Their installation can contribute significantly to energy efficiency, as controlling moisture effectively reduces the load on heating and cooling systems.
Importance of Vapor Barrier Installation
The installation of a vapor barrier is vital for several reasons. First and foremost, it mitigates moisture-related problems such as mold, rot, and damage to foundations. Moisture can lead to significant structural issues, diminish the integrity of walls, and promote an unhealthy living environment. Furthermore, it aids in maintaining a more consistent indoor temperature, which can translate to lower energy bills. When considering Vapor Barrier Installation, understanding its importance is key to long-term home maintenance.
Common Materials Used for Vapor Barriers
Several materials can be utilized for vapor barriers, each with its own advantages and disadvantages. Polyethylene film—often available in various thicknesses—is the most commonly used material due to its effectiveness and cost-efficiency. Foil-based barriers, on the other hand, reflect radiant heat, making them a good choice for energy-conscious homeowners. Additionally, there are insulated and permeable options that allow for specific environmental needs, which can be selected based on the conditions of the crawl space or basement.
Planning Your Vapor Barrier Installation
Assessing Crawl Space Conditions
Before diving into installation, it’s essential to assess the current conditions of your crawl space. Look for signs of excessive moisture like standing water, mold spots, or damp smells. Check for proper drainage around the foundation and inspect for any cracks in the walls that might allow moisture ingress. Understanding the baseline condition helps to inform your installation approach and material selection.
Necessary Tools for Installation
Having the right tools is crucial for a successful vapor barrier installation. Key items include:
- Utility Knife: For cutting the vapor barrier material to size.
- Staple Gun: To secure the barrier to wooden structures.
- Tape Measure: To ensure accurate measurements of the installation area.
- Construction Adhesive: To seal seams and joints effectively.
- Safety Gear: Including gloves and a mask, especially if working in confined spaces.
Having these tools on hand can streamline the installation process and help ensure a tight seal.
Choosing the Right Barrier Material
Selecting the appropriate vapor barrier material depends on multiple factors, including budget, climate, and specific needs of your crawl space. For typical residential applications, a 6-mil or thicker polyethylene sheet can be ideal due to its balance between effectiveness and cost. In areas with extreme moisture conditions, a thicker option or foil barrier may be warranted. Always consider local building codes and regulations when making your selection to ensure compliance and optimal performance.
Step-by-Step Guide to Vapor Barrier Installation
Preparing the Crawl Space
Preparation is critical to ensure a seamless installation of your vapor barrier. Start by cleaning the crawl space. Remove any debris and check for mold or pests that may hinder the barrier’s effectiveness. If moisture is present, address it first—this could involve using a sump pump or addressing drainage issues. Additionally, it’s advisable to level the ground if there are uneven patches, as this could affect the installation and durability of the vapor barrier.
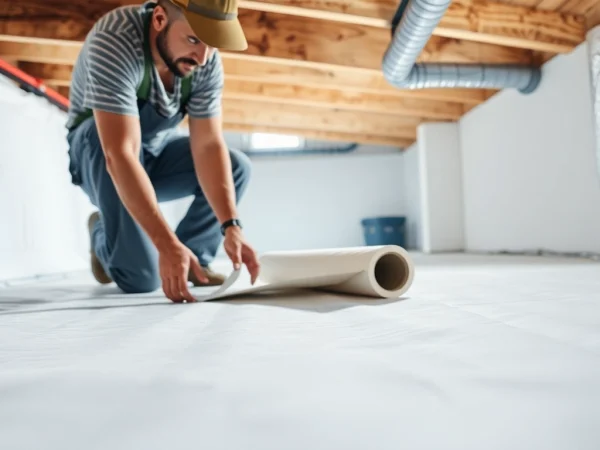
Installing the Vapor Barrier
Once the crawl space is prepared, it’s time to install the vapor barrier. Begin by unrolling the barrier material across the ground, making sure it overlaps any necessary seams. Use your tape measure to ensure that the barrier covers all areas adequately, extending it up the walls by 6 to 12 inches. Secure the barrier to the walls using the staple gun and construction adhesive for added strength. Remember to make sure all seams are sealed properly to prevent air and moisture leaks.
Sealing and Finishing Touches
After the main installation is complete, the final steps are crucial for long-term effectiveness. Use tape to seal all seams and edges, ensuring a watertight barrier. Inspect your work closely and make adjustments if any areas appear skewed or incomplete. A thorough inspection now can save significant effort and costs down the line. Finally, consider adding insulation to walls to complement moisture control and enhance energy efficiency.
Post-Installation: Maintaining Your Vapor Barrier
Regular Inspections
Post-installation, it’s critical to commit to regular inspections of your vapor barrier. This should be done at least once a year or more frequently if your area experiences high moisture levels. Look for signs of wear, loose seams, or any material degradation. Catching issues early can prevent larger problems, such as mold infestations or structural damage, from developing.
Common Issues and Solutions
Several common issues can arise even after careful installation. For instance, if you notice condensation developing on the barrier, it may indicate inadequate encapsulation. To address this, ensure that all seams are tightly sealed and consider improving moisture control methods in the crawl space. If the barrier tears or is damaged, simply patching it with a piece of new vapor barrier material, sealed with proper tape, can resolve the concern.
When to Replace Your Vapor Barrier
Your vapor barrier may not last indefinitely. Factors like environmental conditions, the quality of the material, and the maintenance routine will affect its lifespan. Generally, if the barrier shows significant wear, tears, or if extensive moisture issues persist despite maintenance, it is time for a replacement. Checking for these signs regularly helps to keep your home protected efficiently.
FAQs about Vapor Barrier Installation
What is the purpose of a vapor barrier?
A vapor barrier prevents moisture from entering structures, protecting them from mold, rot, and damage. It ensures better indoor air quality and helps maintain consistent temperature control.
How thick should a vapor barrier be?
Typically, a vapor barrier should have a thickness of at least 6 mil for effective moisture control. However, thicker options may be necessary in areas with high humidity or moisture problems.
Can I install a vapor barrier myself?
Yes, many homeowners can install a vapor barrier themselves, provided they have the right tools and follow recommended guidelines. Proper preparation and attention to detail are crucial for success.
How long does a vapor barrier last?
The lifespan of a vapor barrier can vary widely depending on factors like material quality and environmental conditions, but with proper maintenance, it can last up to 20 years or more.
What happens if a vapor barrier is not installed?
Without a vapor barrier, moisture can infiltrate your home, leading to mold growth, structural damage, and poor indoor air quality. This can result in increased repair costs and health risks.